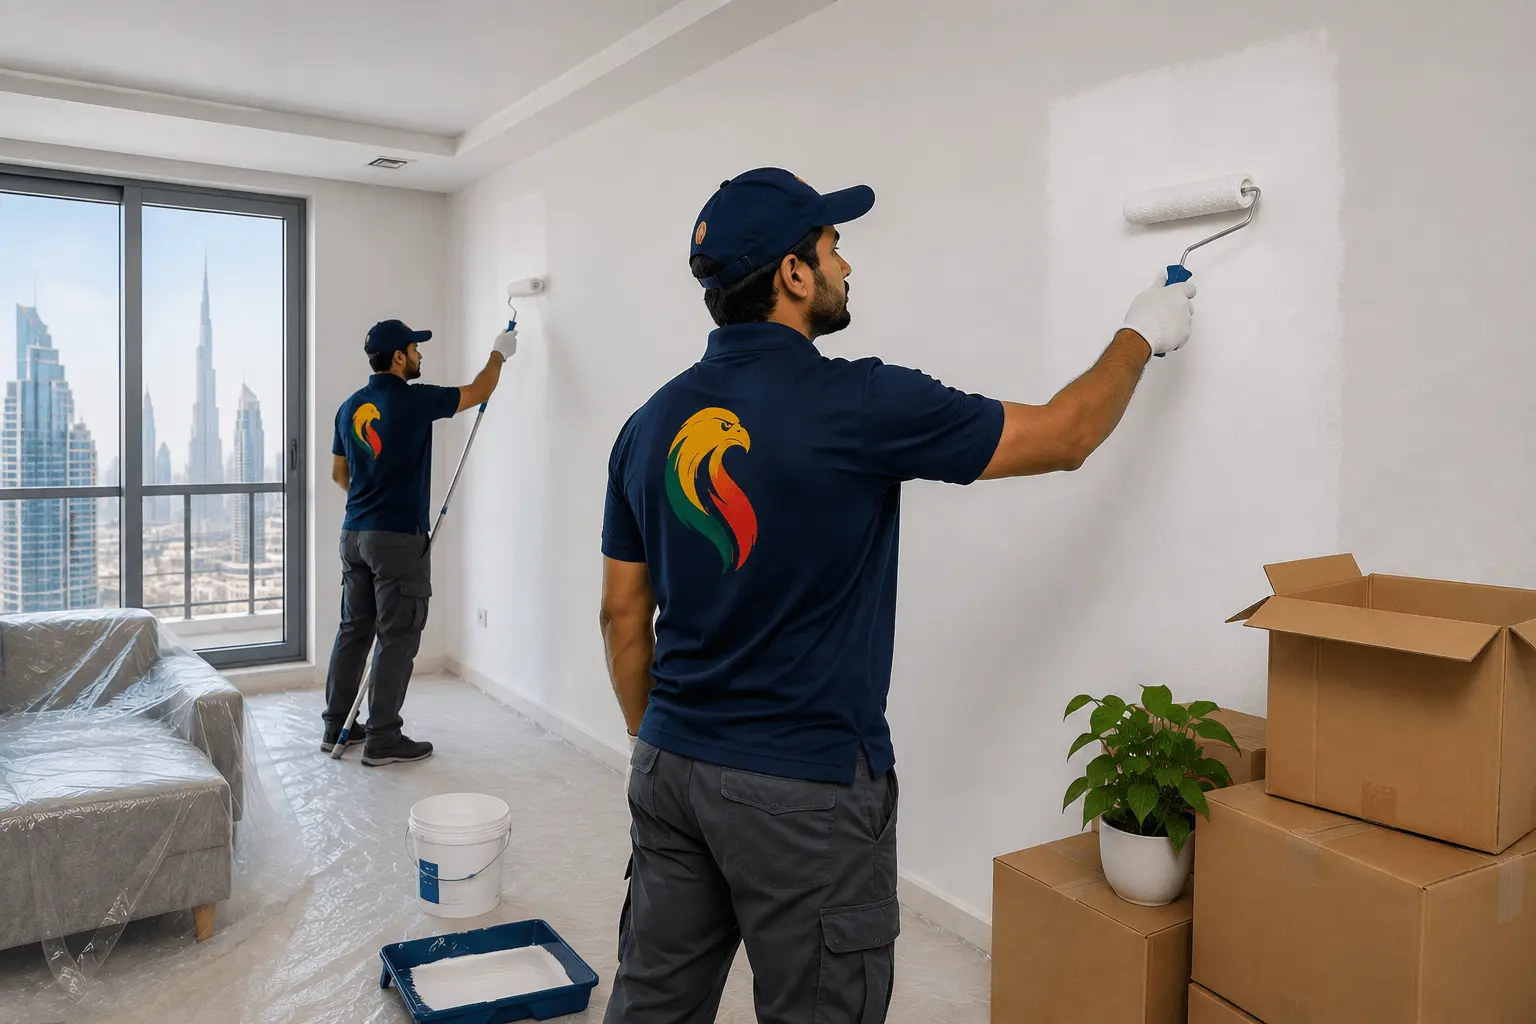
How to Paint Over Old Paint in Dubai Apartment
Home › Blog › How to Paint Over Old Paint — Dubai Apartment
How to Paint Over Old Paint in a
Dubai Apartment
Repainting over old paint works — when the surface underneath is ready. This guide covers how to assess existing walls, identify what needs repair, prepare correctly and achieve a durable finish. Start with diagnosis. The paint choice comes second.
- Quick Check: Can You Paint Directly?
- When It Is Safe to Paint Over
- When You Should NOT Paint Over
- What You Will Need
- 10-Step Repainting Process
- Do You Need Primer?
- Painting Over Different Old Paint Types
- How Many Coats?
- Common Dubai Apartment Paint Problems
- What If the Old Paint Is Peeling?
- DIY vs Professional Painter
- Painting in a Rental Apartment
- Repainting Before Moving Out
- How Long Does It Take?
- How Much Does It Cost?
- 10 Mistakes to Avoid
- Emirates Painting Services Process
- Final Pre-Paint Checklist
- Frequently Asked Questions
In Dubai apartments, repainting often starts with ordinary wear: scuff marks, nail holes, hairline cracks, kitchen residue, faded colours, dark feature walls or uneven DIY touch-ups. Move-out repainting can add another challenge because isolated repairs need to blend with an older finish. The key question is not simply “Which paint should I buy?” — it is “Is the existing wall suitable for recoating?”
Emirates Painting Services follows this preparation-first approach across its interior painting services in Dubai, where cleaning, surface treatment, protection and finishing are part of every repainting project.
| Existing Wall Condition | Paint Over It? | What to Do First |
|---|---|---|
| Clean and firmly bonded | Usually yes | Clean and light preparation |
| Glossy finish | Not directly | Clean, sand/degloss and compatible system |
| Small nail holes | After repair | Fill and sand |
| Hairline cracks | After assessment/repair | Repair appropriately |
| Peeling paint | No | Remove loose coating to a sound edge |
| Bubbling paint | No | Diagnose the cause first |
| Chalky/powdery surface | Not directly | Clean/stabilize as appropriate |
| Damp wall | No | Find and fix moisture source |
| Dark colour | Usually yes | Primer may improve coverage |
| Mould or persistent staining | Not immediately | Identify and treat the cause first |
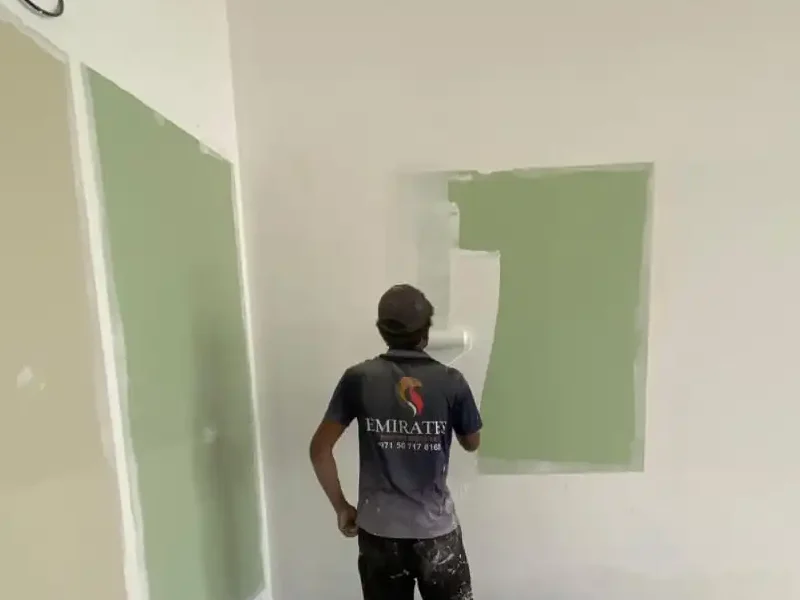
Paint Over It When…
- The existing paint has good adhesion — firmly attached, not lifting or flaking
- The wall is clean and free of grease, oils and residue
- There is no active moisture or recurring staining
- Peeling or blistering is minor and isolated
- Cracks and holes are cosmetic and repairable
- The old and new paint systems are compatible
Stop and Diagnose When…
- Old paint is peeling or flaking — never lock loose material under fresh paint
- Paint is bubbling or blistering — indicates moisture, contamination or compatibility issue
- The wall has unexplained damp patches
- There is mould or persistent staining
- The surface is powdery or chalky
- Cracks are recurring, widening or unusual
Inspect the Existing Paint
Check the entire room in good light. Look for peeling, bubbling, cracks, dampness, mould, stains, glossy patches, loose plaster and poor old repairs. Mark defects before starting so preparation is consistent.
Protect the Apartment
Move or cover furniture, protect floors, mask skirting and frames. In furnished apartments, careful protection often saves more time than cleaning dried splashes later.
Clean the Walls
Remove dust, hand marks, grease and cooking residue. Use a cleaning method that does not leave a problematic residue, then allow the wall to dry completely.
Scrape Away Loose and Peeling Paint
Remove failed paint until you reach a sound, firmly bonded edge. Feather hard edges so repaired areas do not telegraph through the finish coat.
Repair Holes, Cracks and Wall Damage
Fill nail holes, screw holes, minor dents and cosmetic cracks with appropriate repair material. Recurring or unusual cracks should be investigated rather than repeatedly hidden.
Sand and Smooth the Surface
After repairs have dried, sand filler and feather repaired edges. Glossy surfaces may need deglossing. Remove sanding dust thoroughly before priming or painting.
Prime Where the Surface Requires It
Spot-prime repaired or exposed areas, or use a broader primer when changing from a dark colour, covering stains, dealing with gloss or exposing bare plaster.
Cut In and Apply the First Finish Coat
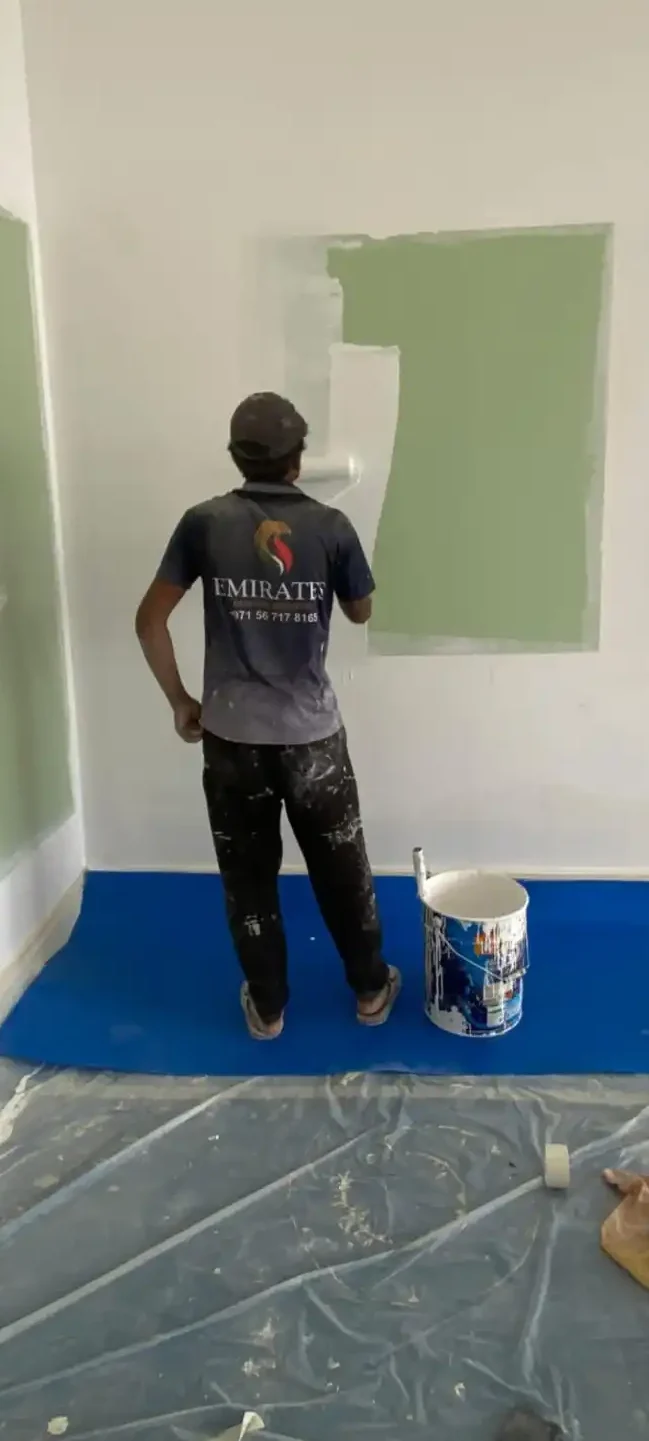
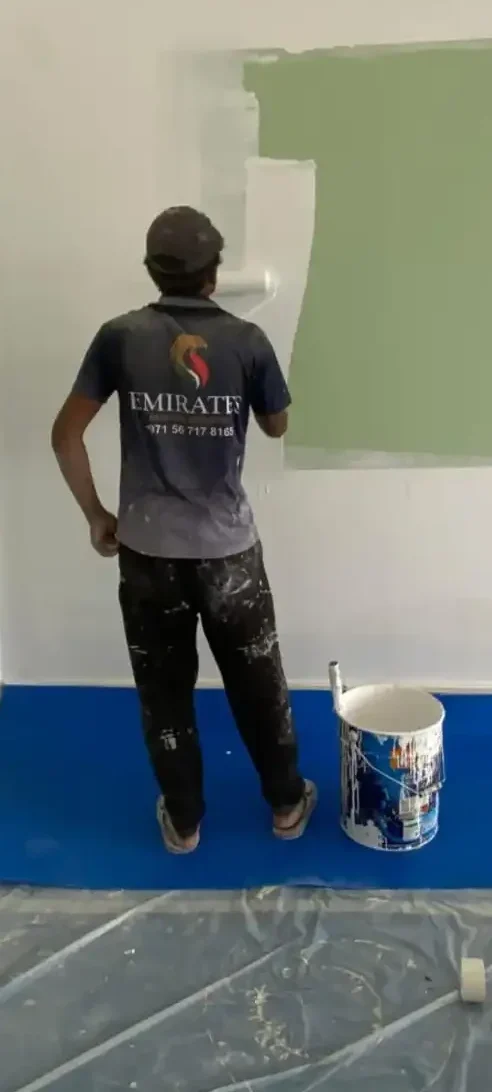
Work cleanly around ceilings, corners and frames, then roll the larger wall areas. Maintain a wet edge and follow product guidance for film build, dilution and tools.
Allow the Correct Recoat Time
Touch-dry, recoat-ready and fully cured are different stages. Temperature, humidity, ventilation and product chemistry all affect timing — always follow manufacturer guidance.
Apply the Final Coat and Inspect
After drying, inspect in normal room lighting for misses, roller lines, patchiness and repair shadows. Complete touch-ups, remove masking carefully and clean the area.
Walls peeling, damp or badly patched?Get a free on-site assessment before spending on paint — Emirates Painting Services diagnoses, repairs and repaints Dubai apartments.
Primer is a problem-solving layer — not a ritual. Not every previously painted wall automatically needs a full coat. The decision should be based on the existing surface condition, any repairs, the colour change and the paint system.
The Wall Has Been Repaired
Filler and exposed substrate absorb paint differently from surrounding wall. Spot-priming or broader priming creates a more uniform base.
Dark to Light Colour Change
A suitable primer improves hiding and can reduce the number of finish coats needed for dramatic colour changes.
Very Glossy Existing Surface
Clean and sand/degloss first. A compatible bonding primer may also be required for mechanical adhesion.
Stain Blocking Required
Some stains migrate through ordinary paint. Use an appropriate stain-blocking system only after addressing the source of the stain.
Bare Plaster or Substrate Exposed
Bare or repaired areas often need the primer or sealer specified for that substrate before the finish coat.
Paint System Requires It
Manufacturer instructions take priority. Some products and substrates require a defined primer for expected adhesion and performance.
Over Emulsion Paint
Sound interior emulsion is commonly recoated after cleaning, local repairs and light sanding where needed. Gloss level, contamination and repaired patches determine whether primer is required.
Over Gloss or Semi-Gloss
Smooth glossy surfaces reduce mechanical adhesion. Clean thoroughly, sand or degloss appropriately, remove dust and use a compatible primer or coating system where specified.
Over Dark Paint
A major colour change from dark to white or light shade may need a suitable primer and additional coverage. The number of coats depends on opacity and product specification.
Over Textured Paint
Decide whether to keep or remove the texture. Repainting a sound texture is different from trying to create a smooth wall, which requires more extensive levelling.
Over Previous DIY Repairs
Raised filler, visible brush marks and patchy touch-ups remain visible through new paint. Sand and level the surface first so the finish is not hiding physical defects.
Two finish coats are common on many repainting projects, but they should not be treated as a universal rule. Coverage depends on the old colour, new colour, paint opacity, wall condition, primer, repairs, application rate and desired finish.
Dark to light: Dark-to-light repainting usually needs more hiding power than a similar-colour refresh. A suitable primer creates a more uniform base — but the final number of coats should be judged by coverage and the product’s instructions, not a fixed formula.
Use the recoat time on the specific product data or manufacturer instructions. Dubai apartments vary in temperature, humidity and ventilation, especially in air-conditioned rooms. A wall that feels dry may still not be ready for another coat.
AC-Related Condensation and Damp Areas
Cold surfaces, AC drainage issues and humid air contribute to moisture around vents, corners or service areas. Diagnose the source before repainting — paint over moisture will bubble and fail.
Hairline Cracks
Minor cosmetic cracks are common, but repeated or widening cracks should not be treated as routine filler work. Assess the cause before deciding on the repair method.
Scuff Marks in High-Traffic Areas
Hallways, entrances and walls near furniture often show rubbing and marks. Cleaning and local repair may be enough before a full room refresh.
Kitchen Grease and Residue
Cooking residue interferes with adhesion. Degreasing must suit the existing paint and new coating — leaving residue is one of the most common causes of early paint failure.
Bathroom Humidity
Persistent humidity encourages staining or mould. Ventilation and moisture control matter alongside paint selection — a specialist bathroom finish helps, but does not fix poor airflow.
Faded or Patchy Previous Paint
Sunlight, old touch-ups and uneven application leave walls visually inconsistent even when the coating is still attached. A full room repaint resolves this more cleanly than further touch-ups.
Nail and TV-Mount Holes
Mounting holes should be filled, dried, sanded and spot-primed as appropriate before the finish coats are applied.
Poor Previous Move-Out Touch-Ups
A slightly different colour, sheen or roller texture can make isolated patches obvious under any light. Sometimes repainting the whole wall produces a far cleaner result.
For peeling paint: Find cause → remove loose paint → inspect substrate → repair → sand → prime as appropriate → repaint
Paint can peel for several reasons: moisture, weak previous preparation, painting over dust or grease, a failing underlying coating, incompatible products or unsuitable substrate. The repair should address the cause rather than simply covering the loose edge.
| Factor | DIY | Professional Painter |
|---|---|---|
| Small touch-ups | Practical | Usually unnecessary |
| Full apartment | Time-consuming | More efficient |
| Surface preparation | Skill-dependent | Professional assessment and prep |
| Crack repair | Basic repairs possible | Better for extensive defects |
| Furniture protection | Self-managed | Handled within agreed scope |
| Finish consistency | Skill-dependent | Typically more consistent |
| Cleanup | DIY responsibility | Usually included at handover |
When DIY Makes Sense
A small, straightforward area where the wall is sound, dry and compatible with the intended paint. Keep scope simple and follow product instructions.
When to Call Professionals
Full apartment repaint, widespread peeling, extensive repairs, damp damage, high ceilings, major colour changes or a move-in/move-out deadline.
Move-out deadline approaching?Emirates Painting Services handles repair, preparation, painting and handover cleanup across Dubai apartments.
Check Your Tenancy Requirements First
Before changing colours or carrying out significant work, check the tenancy agreement and landlord or property-management requirements. Dubai rental properties do not all follow one universal repainting rule.
Changing the Wall Colour
That depends on tenancy terms and owner approval. If you choose a strong feature colour, consider whether you may later be required to restore a neutral or original finish.
What Happens at Move-Out?
Handover expectations vary. Photograph the condition, review your contract and clarify whether walls need touch-ups, repair or a full repaint before spending money unnecessarily.
Restoring the Original Colour
Only where your agreement or landlord requires it. Colour matching should be confirmed because “white” or “off-white” can vary significantly between brands, batches and finishes.
A touch-up works best when damage is isolated and the existing colour, sheen and texture can be matched closely. A full wall or room repaint is often cleaner when marks are widespread, walls have faded, repairs are numerous or old touch-ups are already visible.
Why touch-ups sometimes look patchy: Existing paint ages and fades. A new batch may differ slightly in colour, sheen or texture. Even the same named colour can look different applied over an older wall. If a repair remains obvious after drying, repainting the full wall creates a more consistent finish.
For end-of-tenancy work with a handover deadline, see Move-Out Painting Dubai to move from diagnosis directly to a relevant service.
Timelines depend more on scope and wall condition than bedroom count alone. Empty apartments are generally faster to protect and access. Peeling paint, major colour changes, extensive crack repairs or damp-related work all add preparation and drying time.
Straightforward empty studio with sound walls can be relatively quick. Furnished layouts or extensive repairs add significant time.
Depends on ceilings, doors, colour change, furniture and repair work — not simply the floor plan.
Allow for preparation, drying and recoat windows and room-by-room access. Extensive wall repair extends the job.
More rooms mean more masking, cutting-in, repairs and inspection. Occupied apartments may be phased.
For a detailed timing guide, read How Long Does It Take to Paint a 2-Bedroom Apartment in Dubai?
The cost depends on what is underneath the old paint and what finish you want next. A clean, sound wall that only needs a refresh is a different job from a wall requiring scraping, crack repair, sanding and priming.
Painting over dust or grease without cleaning the wall first
Painting directly over peeling or loose paint without removing the failed coating
Ignoring dampness or recurring stains and painting over them cosmetically
Skipping sanding or deglossing on a shiny existing surface
Using the wrong primer — or no primer — on repaired, bare or specified areas
Applying a new coating over an incompatible existing surface without checking compatibility
Rushing drying and recoat times in a hurry to finish
Leaving cracks or damaged patches unrepaired before applying the finish coat
Assuming one finish coat will always be enough regardless of colour change or opacity
Using touch-up paint without verifying the colour, sheen and texture match the aged wall
This is the preparation-and-protection approach described on the Home Painting Services and Interior Painting Service pages.
- Apartment InspectionAssess old paint adhesion, defects, moisture signs, colour change and access before agreeing scope.
- Paint and Colour SelectionChoose finish and colour based on the room use, existing surface and the client’s preference.
- Furniture and Floor ProtectionCover floors, protect furniture, fixtures and adjoining surfaces before any preparation work starts.
- Cleaning and Old Paint AssessmentRemove contamination and identify which areas can be recoated versus which need further repair.
- Crack and Hole RepairRepair cosmetic defects and address failed previous patches with appropriate repair materials.
- Scraping and SandingRemove loose coating, feather edges and smooth repaired areas to a paintable substrate.
- Primer Where RequiredPrime repaired, exposed, glossy or otherwise specified areas with a compatible product.
- Paint ApplicationApply the selected coating according to manufacturer instructions and required coverage.
- Detail Inspection and Touch-UpsCheck edges, repaired areas, coverage and finish consistency under normal room lighting.
- Cleanup and HandoverRemove protection, clean the work area and complete the final walkthrough with the client.
- Is the existing paint firmly attached?
- Is the wall dry?
- Have you checked for moisture or recurring stains?
- Is all loose and peeling paint removed?
- Are cracks and holes repaired appropriately?
- Has grease and dirt been cleaned?
- Are repaired areas smooth?
- Does the surface need sanding or deglossing?
- Is primer required for repairs, stains, gloss or colour change?
- Are the old and new coatings compatible?
- Is the room properly protected?
- Have you checked manufacturer recoat times?
Sound + clean + dry old paint → prepare and repaint. | Loose + peeling + damp or damaged paint → diagnose and repair first.
Need to Repaint Old Apartment Walls in Dubai?
If your existing paint is faded, marked, peeling or covered with old repairs, the quality of the new finish depends heavily on what happens before painting begins. Emirates Painting Services assesses existing walls, completes necessary preparation and provides a suitable repainting solution for occupied, vacant, move-in and move-out apartments across Dubai.